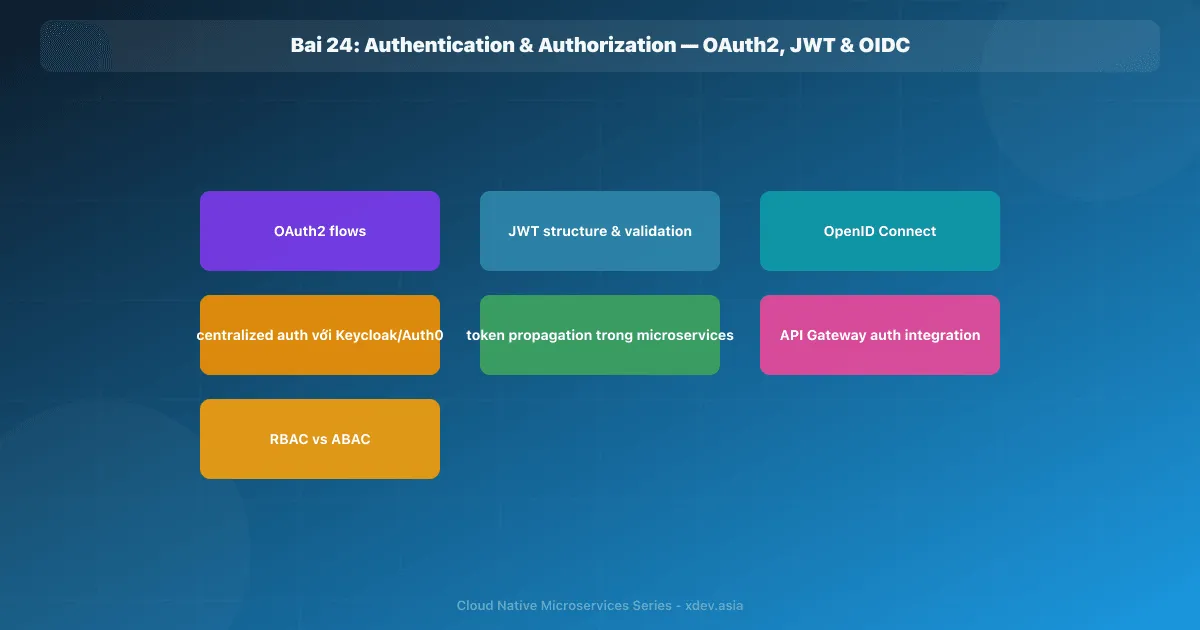
簡介
微服務中的身份驗證和授權比單體應用程式更複雜:每個服務都需要知道「誰在打電話給我?」以及「他們有權這樣做嗎?」 — 無需為每個請求檢查資料庫。
解決方案:集中式身分提供者 (IdP) + JWT 令牌 — 在 API 閘道進行一次驗證,令牌將在所有服務之間傳遞。
1. 身分驗證與授權
Authentication (AuthN): "Bạn là ai?"
  → Verify identity (username/password, API key, certificate)
  → Kết quả: "Đây là user John, email [email protected]"

Authorization (AuthZ): "Bạn có thể làm gì?"
  → Verify permissions (roles, scopes)
  → Kết quả: "John có role 'customer', có thể tạo và xem orders của mình"
2.OAuth2-授權框架
2.1 OAuth2 角色
Resource Owner: User (người dùng cuối)
Client:         Application yêu cầu access (web app, mobile app)
Authorization Server: Keycloak/Auth0 — cấp tokens
Resource Server: API/Service chứa protected resources
2.2 授權程式碼流程(Web 應用程式)
Browser                    Backend App             Auth Server (Keycloak)
   │                           │                           │
   │── Click Login ───────────▶│                           │
   │                           │── Redirect ──────────────▶│
   │◀─── Redirect to Login ────────────────────────────────│
   │                           │                           │
   │── Enter credentials ─────────────────────────────────▶│
   │                           │                           │
   │◀─── Redirect with code ───────────────────────────────│
   │                           │                           │
   │── Forward code ──────────▶│                           │
   │                           │── Exchange code for token▶│
   │                           │◀─ access_token + id_token─│
   │                           │                           │
   │◀─── Session created ──────│                           │
2.3 用戶端憑證流程(服務到服務)
Service A                         Auth Server
   │                                   │
   │── POST /token                     │
   │   client_id + client_secret ─────▶│
   │◀─ access_token (JWT) ─────────────│
   │                                   │
   │── API Call + Bearer token ───────▶ Service B
                                           │
                                           │── Validate JWT (signature + expiry)
                                           │── Check scopes
                                           │
                                           ▼
                                      Process request
2.4 PKCE 流程(移動/SPA)
無客戶端機密(在用戶設備上運行的程式碼無法保密):
# 1. Tạo code_verifier (random string)
code_verifier = base64url(random_bytes(32))

# 2. Tạo code_challenge
code_challenge = base64url(sha256(code_verifier))

# 3. Authorization request kèm code_challenge
GET /authorize?
  response_type=code&
  client_id=xxx&
  code_challenge=abc&
  code_challenge_method=S256

# 4. Token exchange kèm code_verifier
POST /token
  code=xxx&code_verifier=original_verifier
3. JWT — JSON Web 令牌
3.1 結構
eyJhbGciOiJSUzI1NiJ9.eyJzdWIiOiJ1c2VyLTAwMSIsInJvbGVzIjpbImN1c3RvbWVyIl19.signature
└─────────────────┘ └──────────────────────────────────────────┘ └───────────┘
      Header                         Payload                       Signature

Header (Base64URL decoded):
{
  "alg": "RS256",    ← Thuật toán ký: RS256 (asymmetric) hoặc HS256 (symmetric)
  "typ": "JWT",
  "kid": "key-2024"  ← Key ID để lookup public key
}

Payload (Base64URL decoded):
{
  "sub": "user-001",              ← Subject (user ID)
  "iss": "https://auth.example.com", ← Issuer
  "aud": "order-service",         ← Audience (intended recipient)
  "exp": 1711900800,              ← Expiration time (Unix timestamp)
  "iat": 1711897200,              ← Issued At
  "jti": "abc-123-xyz",           ← JWT ID (prevent replay)
  "email": "[email protected]",
  "roles": ["customer"],
  "tenant_id": "tenant-001"      ← Custom claims
}

Signature: RS256(base64url(header) + "." + base64url(payload), private_key)
3.2 RS256 與 HS256
HS256 (Symmetric):
  - Ký và verify bằng cùng một secret key
  - Tất cả services cần biết secret → nguy hiểm
  - Dùng cho: monolith, internal tools

RS256 (Asymmetric):
  - Auth Server ký bằng private key (giữ bí mật)
  - Services verify bằng public key (có thể public)
  - Services KHÔNG thể forge tokens
  - Dùng cho: microservices, distributed systems

JWK Set (JWKS): Auth Server expose public keys tại /.well-known/jwks.json
Services cache và dùng để verify JWT offline
3.3 JWT 驗證
@Component
public class JwtValidator {
    // Cache JWKS (public keys) từ Auth Server
    @Autowired
    private JwkProvider jwkProvider;

    public Claims validate(String token) {
        // Parse header để lấy kid
        DecodedJWT jwt = JWT.decode(token);
        JwkKey key = jwkProvider.get(jwt.getKeyId());

        try {
            // Verify signature + claims
            return JWT.require(Algorithm.RSA256(key.getPublicKey(), null))
                .withIssuer("https://auth.example.com")
                .withAudience("order-service")
                .build()
                .verify(token)
                .getClaims();

        } catch (TokenExpiredException e) {
            throw new UnauthorizedException("Token expired");
        } catch (JWTVerificationException e) {
            throw new UnauthorizedException("Invalid token");
        }
    }
}
4.OpenID 連接(OIDC)
OAuth2 是一個授權框架。 OIDC 是 OAuth2 上的身份層:
OAuth2 trả về: access_token (opaque, for authorization)
OIDC thêm:     id_token (JWT, contains user identity info)
               /userinfo endpoint

Ví dụ id_token:
{
  "sub": "user-001",
  "name": "John Doe",
  "email": "[email protected]",
  "email_verified": true,
  "picture": "https://...",
  "iss": "https://auth.example.com",
  "aud": "my-app",
  "exp": 1711900800
}
何時使用 OIDC:當您需要使用者個人資料資訊(登入、個人資料頁面)時。存取令牌用於存取 API。
5.Keycloak-自架身分提供者
5.1 在 Kubernetes 上安裝
helm repo add bitnami https://charts.bitnami.com/bitnami

helm upgrade --install keycloak bitnami/keycloak \
  --namespace platform \
  --set auth.adminPassword=<password> \
  --set replicaCount=2 \
  --set postgresql.enabled=true \
  --set ingress.enabled=true \
  --set ingress.hostname=auth.example.com
5.2 領域配置
// Realm: myapp
// Client: order-service-api (Resource Server)
{
  "clientId": "order-service-api",
  "protocol": "openid-connect",
  "bearerOnly": true,  // Chỉ accept tokens, không issue
  "defaultClientScopes": ["openid", "profile", "email"],
  "protocolMappers": [
    {
      "name": "tenant-id-mapper",
      "protocol": "openid-connect",
      "protocolMapper": "oidc-usermodel-attribute-mapper",
      "config": {
        "user.attribute": "tenant_id",
        "claim.name": "tenant_id",
        "access.token.claim": "true"
      }
    }
  ]
}
6. 微服務中的令牌傳播
6.1 API閘道-集中認證
Client ──Bearer token──▶ API Gateway
                              │
                              │ 1. Validate JWT signature
                              │ 2. Check expiry
                              │ 3. Check audience
                              │
                              │ 4. Forward token (or user info headers) → downstream services
                              │
                              ▼
                         Order Service
                              │
                              │ 5. Extract claims từ token/headers
                              │ 6. Apply RBAC logic
                              │
                              ▼
                         Process request
6.2 Kong JWT 插件
apiVersion: configuration.konghq.com/v1
kind: KongPlugin
metadata:
  name: jwt-auth
plugin: jwt
config:
  key_claim_name: kid
  claims_to_verify:
    - exp
    - nbf
  anonymous: null
  run_on_preflight: true
# Hoặc dùng OIDC plugin
plugin: oidc
config:
  issuer: https://auth.example.com/realms/myapp
  client_id: kong-gateway
  client_secret: xxxx
  scope: openid
  bearer_only: yes
6.3 令牌轉送與標頭注入
選項 1:轉發原始 JWT(建議)
# Kong: forward original Authorization header
# Downstream service tự validate
優點:下游服務有完整的聲明,簽名可以獨立驗證
選項 2:標頭注入(簡單但安全性較差)
# Kong inject parsed claims làm headers
X-Consumer-Username: john
X-Consumer-Groups: customer,admin
X-Tenant-ID: tenant-001
優點:下游服務不需要JWT庫 缺點:如果有人繞過 API 網關,這些標頭很容易被偽造
7. 授權模式
7.1 RBAC — 基於角色的存取控制
// Spring Security
@PreAuthorize("hasRole('ADMIN') or (hasRole('CUSTOMER') and #customerId == authentication.name)")
public Order getOrder(String orderId, String customerId) { ... }

// Hoặc Method Security
@Secured({"ROLE_ADMIN", "ROLE_MANAGER"})
public void deleteOrder(String orderId) { ... }
# Kubernetes RBAC cho service-to-service (service accounts)
apiVersion: rbac.authorization.k8s.io/v1
kind: Role
metadata:
  name: order-service-role
rules:
  - apiGroups: [""]
    resources: ["configmaps", "secrets"]
    verbs: ["get", "list"]
7.2 ABAC — 基於屬性的存取控制
// Sử dụng Spring Security SpEL expression
@PreAuthorize("""
    hasRole('CUSTOMER') and
    @orderService.isOwner(#orderId, authentication.name) and
    T(java.time.LocalDate).now().isBefore(
        @orderService.getOrder(#orderId).createdAt.plusDays(30)
    )
""")
public void cancelOrder(String orderId) { ... }
7.3 OPA(開放策略代理)-策略即程式碼
# order-policy.rego
package order

default allow = false

# Customer có thể xem order của mình
allow {
    input.action == "GET"
    input.user.roles[_] == "customer"
    input.resource.owner_id == input.user.id
}

# Admin có thể xem tất cả
allow {
    input.user.roles[_] == "admin"
    input.action == "GET"
}

# Refund chỉ trong 30 ngày
allow {
    input.action == "REFUND"
    input.user.roles[_] == "customer"
    input.resource.owner_id == input.user.id
    time.diff(input.resource.created_at, time.now_ns()) < 2592000  # 30 ngày
}
// Gọi OPA để evaluate policy
@Service
public class AuthorizationService {
    public boolean isAllowed(String action, User user, Resource resource) {
        OpaRequest request = OpaRequest.builder()
            .input(Map.of(
                "action", action,
                "user", Map.of("id", user.getId(), "roles", user.getRoles()),
                "resource", Map.of("owner_id", resource.getOwnerId(), "created_at", resource.getCreatedAt())
            ))
            .build();

        OpaResponse response = opaClient.evaluate("order/allow", request);
        return response.getResult();
    }
}
8. 令牌刷新與安全注意事項
8.1 存取令牌與刷新令牌
Access Token:
  - Short-lived: 5-15 phút
  - Dùng để access APIs
  - Stateless (validate offline với public key)
  - Khi bị stolen: expire sớm → damage limited

Refresh Token:
  - Long-lived: 7-30 ngày
  - Dùng để lấy access token mới
  - Stored lên Auth Server (có thể revoke)
  - Khi bị stolen: phải revoke ngay
8.2 安全最佳實踐
□ Access token TTL: 5-15 phút (không phải 1 ngày)
□ RS256 không phải HS256 cho distributed systems
□ Validate audience (aud) claim — token không dùng được cho service khác
□ Validate issuer (iss)
□ Store tokens trong httpOnly cookies (không localStorage)
□ Refresh token rotation: mỗi lần refresh → issue token mới + revoke cũ
□ Token không chứa sensitive data (credit card, password)
□ Rate limit authentication endpoints
□ Brute force protection (lockout sau N failed attempts)
總結
| 概念 | 目的 |
|---|---|
| OAuth2 | 授權框架(委託存取) |
| 海外開發公司 | OAuth2 上的身份層(使用者是誰) |
| 智威湯遜 (RS256) | 無狀態token,無需DB離線驗證 |
| JWKS | 服務驗證令牌的公鑰端點 |
| API網關認證 | 集中認證,下游接收經過驗證的聲明 |
| 角色控制 | 基於角色的存取—簡單、可預測 |
| 阿巴克 | 基於屬性-彈性、上下文感知 |
| OPA | 策略即代碼-集中、可審核的授權 |
下一篇文章:秘密管理與容器安全