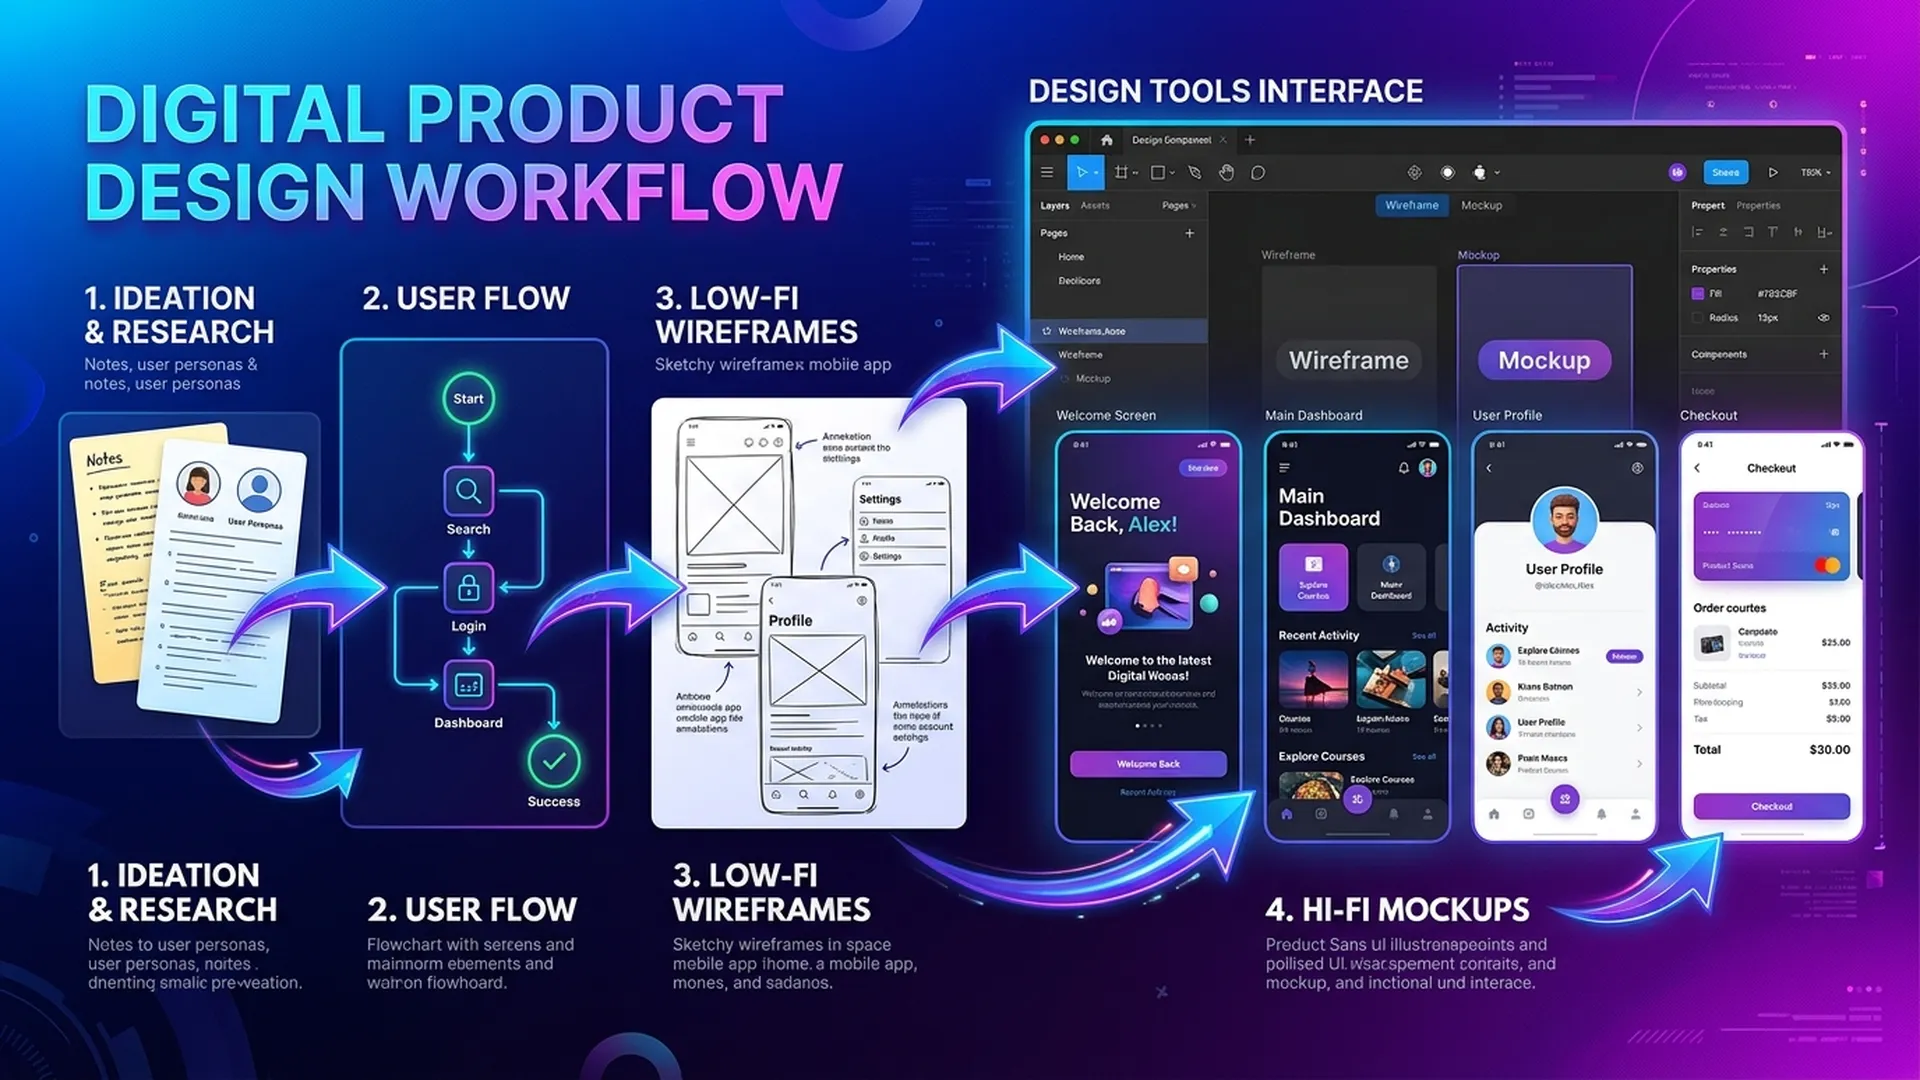
BA が Figma と Draw.io を使う目的は、デザイナーと競うことではなく 明確に伝えること です。30 分で作る誠実な wireframe は、3 ページの文章説明より価値があります。
1. BAのための Figma:十分な Lo-fi Wireframe
1.1 Lo-fi BA Wireframe の原則
BA に high-fidelity は不要です。Lo-fi wireframe に必要なのは:
- element の 配置 を示す(色は不要)
- 各 element の label と action を明示
- 各 field の data source(AI か manual か)を注記
1.2 AI機能に必要なコンポーネント
AI Output Display Component:
┌─────────────────────────────────────┐
│  分類結果: [LABEL]                  │
│  信頼度: ████████░░ 82%             │
│                                     │
│  ⚠️ 自動処理閾値 (90%) 未満         │
│  [確認]  [編集]  [却下]             │
└─────────────────────────────────────┘
必要な annotation:
[LABEL]-> AI API response field:result.label- Confidence bar ->
result.confidence * 100 - Warning threshold ->
AI_AUTO_APPROVE_THRESHOLD = 0.9 - ボタン表示条件 ->
confidence < threshold
1.3 BA向け Figma テンプレート構成
📁 [Project] — BA Workspace
├── 🗂 Page: User Flows
│   ├── Frame: Happy Path Flow
│   └── Frame: Fallback Path Flow
├── 🗂 Page: Wireframes
│   ├── Frame: [Screen 1 Name]
│   ├── Frame: [Screen 1 — Error State]
│   └── Frame: [Screen 1 — Loading State]
└── 🗂 Page: Annotations
    └── Frame: Component Spec Sheet
Frame 命名規則: [ScreenID]-[Name]-[State]
例: S03-ClaimReview-AILowConfidence
2. Draw.io で Flow Diagram を作る
2.1 Figma ではなく Draw.io を使う場面
| 図の種類 | 適したツール |
|---|---|
| Wireframe、UI mockup | Figma |
| BPMN flow、sequence diagram | Draw.io |
| Architecture diagram | Draw.io |
| User journey map | どちらでも可 |
2.2 Draw.io における AI Flow パターン
基本パターン: Confidence Gate 付き AI
[User Action]
    ↓
[AI Processing] ──→ [Confidence Score]
    ↓
[Gateway: score ≥ threshold?]
├── YES → [Auto Action] → [Log + Notify]
└── NO  → [Queue for Human Review]
              ↓
         [Agent Review UI]
              ↓
         [Approve / Reject / Edit]
              ↓
         [Update + Log + Feedback to Model]
Draw.io の主要記号:
- 角丸長方形 -> AI Service/Task
- Diamond (X-gateway) -> score/threshold 判定
- 二重円 (Event) -> timer、error、escalation trigger
- Cylinder -> data store / database
- Person icon -> human task(Human lane)
2.3 HITL 用 Multi-lane パターン
┌────────── System Lane ──────────────────────┐
│ [Receive Request] → [AI Classify] → [Score] │
└─────────────────────────────────────────────┘
                              ↓
                    [Confidence ≥ 0.85?]
                    ┌─────────┴─────────┐
                   YES                 NO
                    ↓                   ↓
┌── Auto Lane ───┐  ┌──── Agent Lane ──────────┐
│ [Auto Approve] │  │ [Review Queue] → [Decision] │
│ [Log + Close]  │  │ [Override + Comment]        │
└────────────────┘  └────────────────────────────┘
3. AI機能における Annotation ベストプラクティス
annotation なしの wireframe は要件の半分が欠けています。BA は次を明記します:
| Element | 必要な annotation |
|---|---|
| Loading state | "X 秒後 timeout -> error state Y を表示" |
| AI result display | "Source: POST /api/classify -> field: result.category" |
| Confidence bar | "Scale: 0-100%、warning threshold: < 85%" |
| Override button | "audit_log に user_id + timestamp + reason を記録" |
| Error state | "HTTP 5xx -> 'システム処理中です。再試行してください'" |
4. Figma における BA-Designer-Dev ワークフロー
BA:        Figma で lo-fi wireframe + annotation を作成
    ↓
Designer:  visual design(色・フォント)追加(flow/annotation は変更しない)
    ↓
BA Review: レイアウト変更後も annotation が正しいか検証
    ↓
Dev:       Figma + annotation を基に実装(不明点の一次窓口は BA)
よくある失敗: BA が hand-off 後にレビューせず、annotation が消失/不整合になる。
まとめ
Figma と Draw.io はデザイナーやアーキテクト専用ではなく、BA と stakeholder をつなぐ 共通言語 です。明確な lo-fi wireframe と flow diagram を作れる BA は、スプリント中の clarification を 40-60% 削減できます。
重要なのは 見た目の美しさ より annotation の完全性 です。